
For us, the asado, or traditional barbecue, is a genuine ritual and an excuse to get together and share a ton of anecdotes, but none of this would be possible without the essential contribution of our dear asador, the one responsible for lighting the fire and preparing the whole shebang. Follow this simple tutorial and you’ll make the cut, and receive the applause of your guests.
1. The materials.
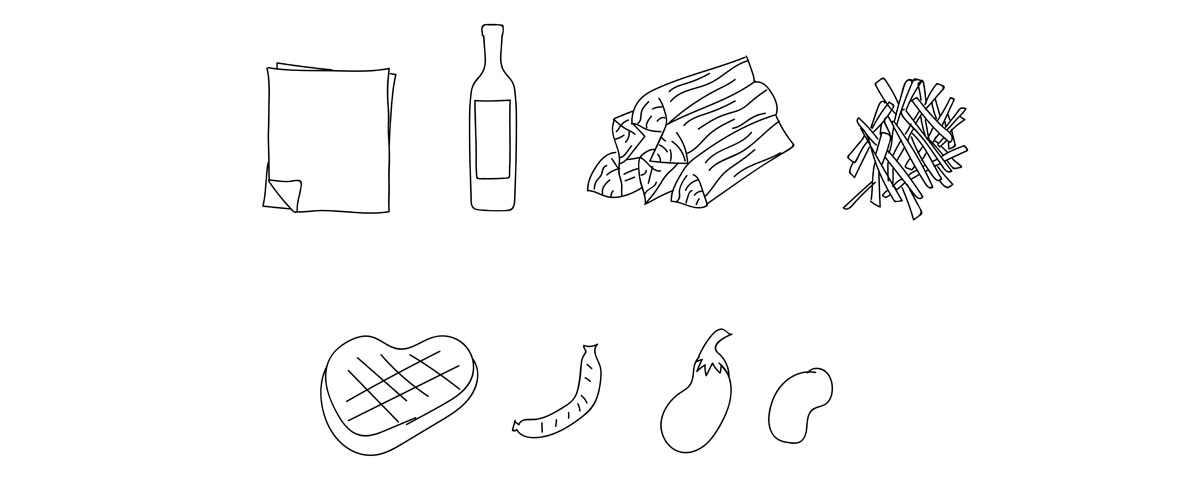
A bottle, paper, small branches, firewood, a poker, a small shovel, a grill and … meat and/or veggies to barbecue.
2. Build and light the fire.
While there exist as many techniques to get the fire going as there exist asadores, we recommend the “volcano” method since it tends to guarantee some degree of success even for inexperienced asadores.
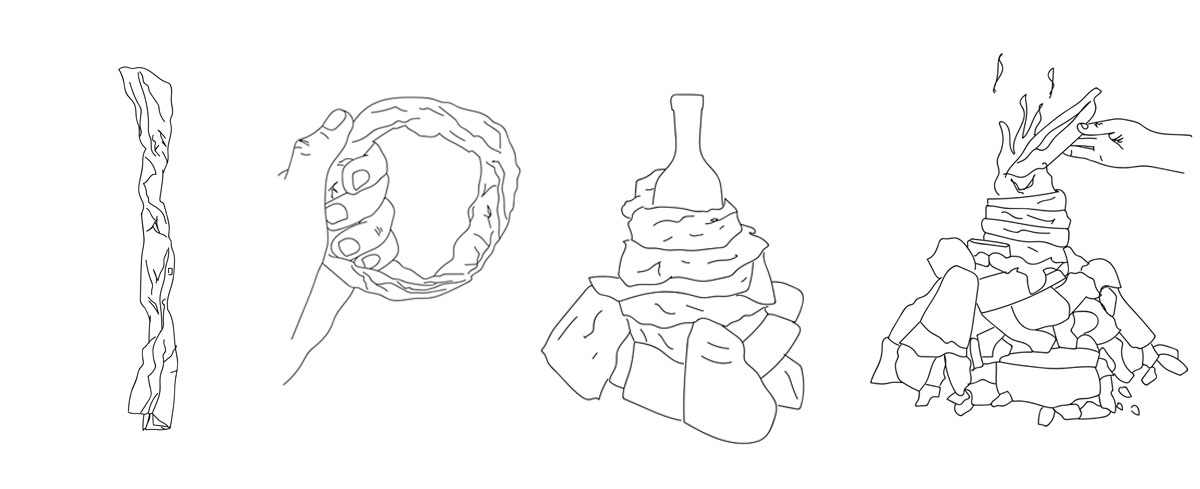
Use whole sheets of paper (usually from old newspapers) to form twists. Place the bottle on the surface where you’re going to build your asado, and form rings around it using the twists of paper, until they reach a height of around 20cm, then place small branches vertically against the rings creating a kind of pyramid around the bottle. Finally add the smallest pieces of kindling from your bag of firewood on top of the small branches, respecting the same direction. Finally, remove the bottle taking care no to demolish your volcano!
Ready. Throw a lit match into the centre of the volcano, then uncork a bottle of wine and enjoy while you watch the flames catch.
3. On the embers: how to prep the grill and avoid running out of fire.
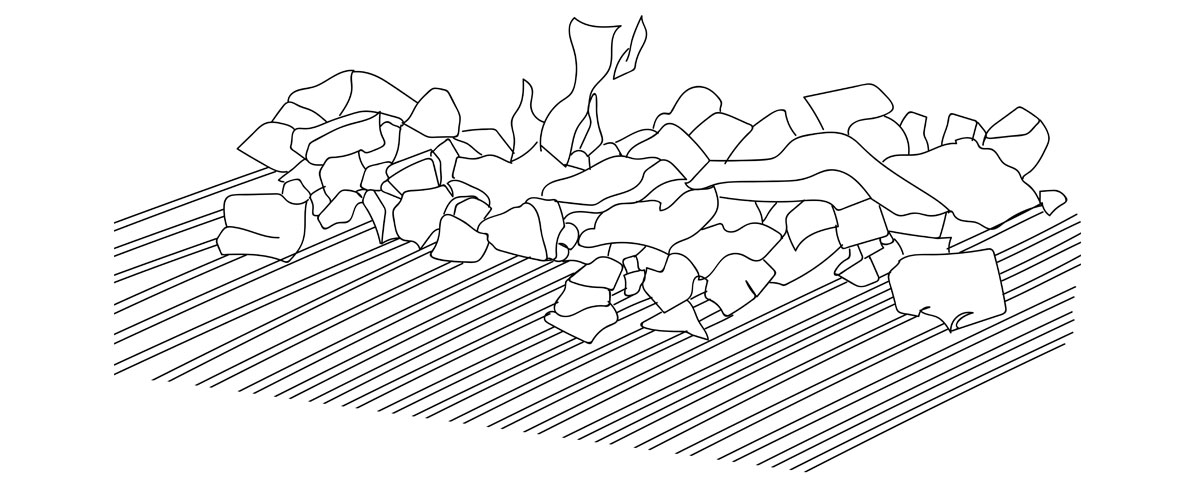
Once you’ve got a decent quantity of light grey embers glowing red push them from the fire and spread them under the grill (the parrilla). It’s always best to keep the fire going on one side, adding a few more pieces of firewood, in case you need more embers later on.
4. Measure the temperature like a local.
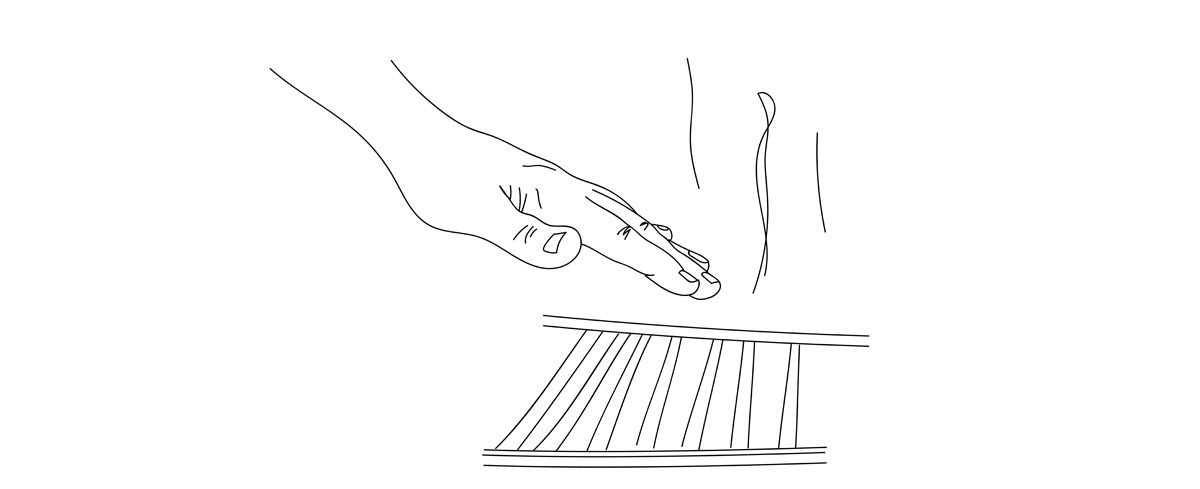
Use the palm of your hand to measure the temperature of the grill and check when it’s ready for you to throw the meat on. Simply open your palm over the embers at the height of the grill and time how long you can keep it there without burning yourself. You can use the following scale as a guide:
- 3 to 4 seconds: medium heat (120º - 170º C / 250º - 340º F).
- 5 to 8 seconds: low heat (90º - 120º C / 195º - 250º F).
5. Tuck in like a true Porteño.
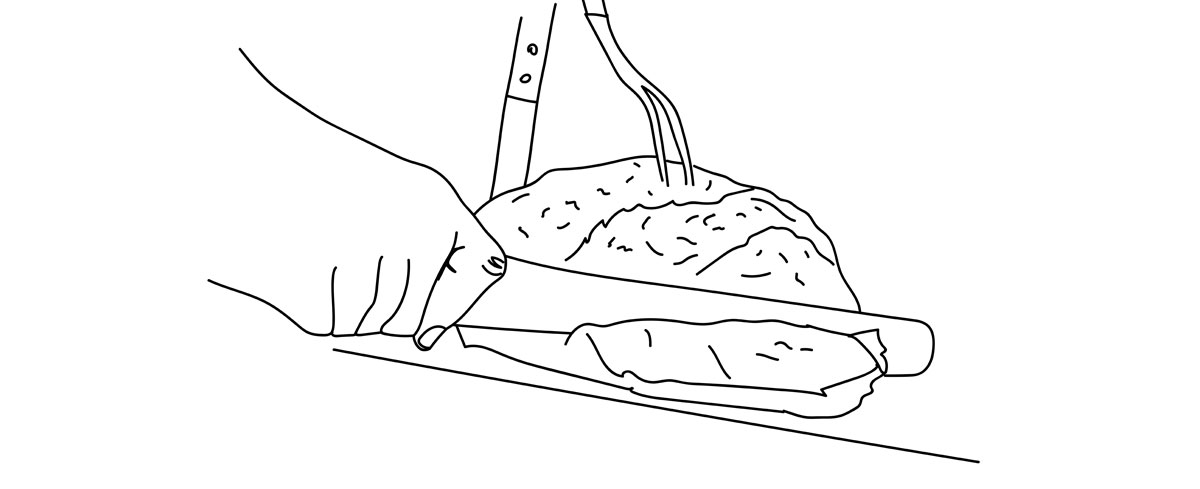
As you take the food off the grill, cut it into bite-size portions on a large wooden board. Dinner is served! An authentic asado isn’t served with plates or dishes but is enjoyed beside the grill itself.
#TIPS
- Heat the grill to a high heat and clean it with newspaper or brush before throwing on the food.
- We usually cook meat on the parrilla, but you can also barbecue fruit and vegetables. Experiment! We can recommend trying pineapple! ;)
- General rule: thin cut = high heat; thick cut = low heat.
- When it comes to meat, it’s crucial to preserve the juices, which means starting by sealing the meat on all sides on a high heat, and avoiding spearing it until it’s ready.
- For the best results, salt the meat with coarse salt after sealing it.
- Once you’ve mastered the basic technique, you can experiment by adding spices or non-resinous woodchips to the embers during cooking to create smoky flavours.
#asado #passion #wine #beer #friends #federalbarbecuechampionship #chimichurri #barbecue